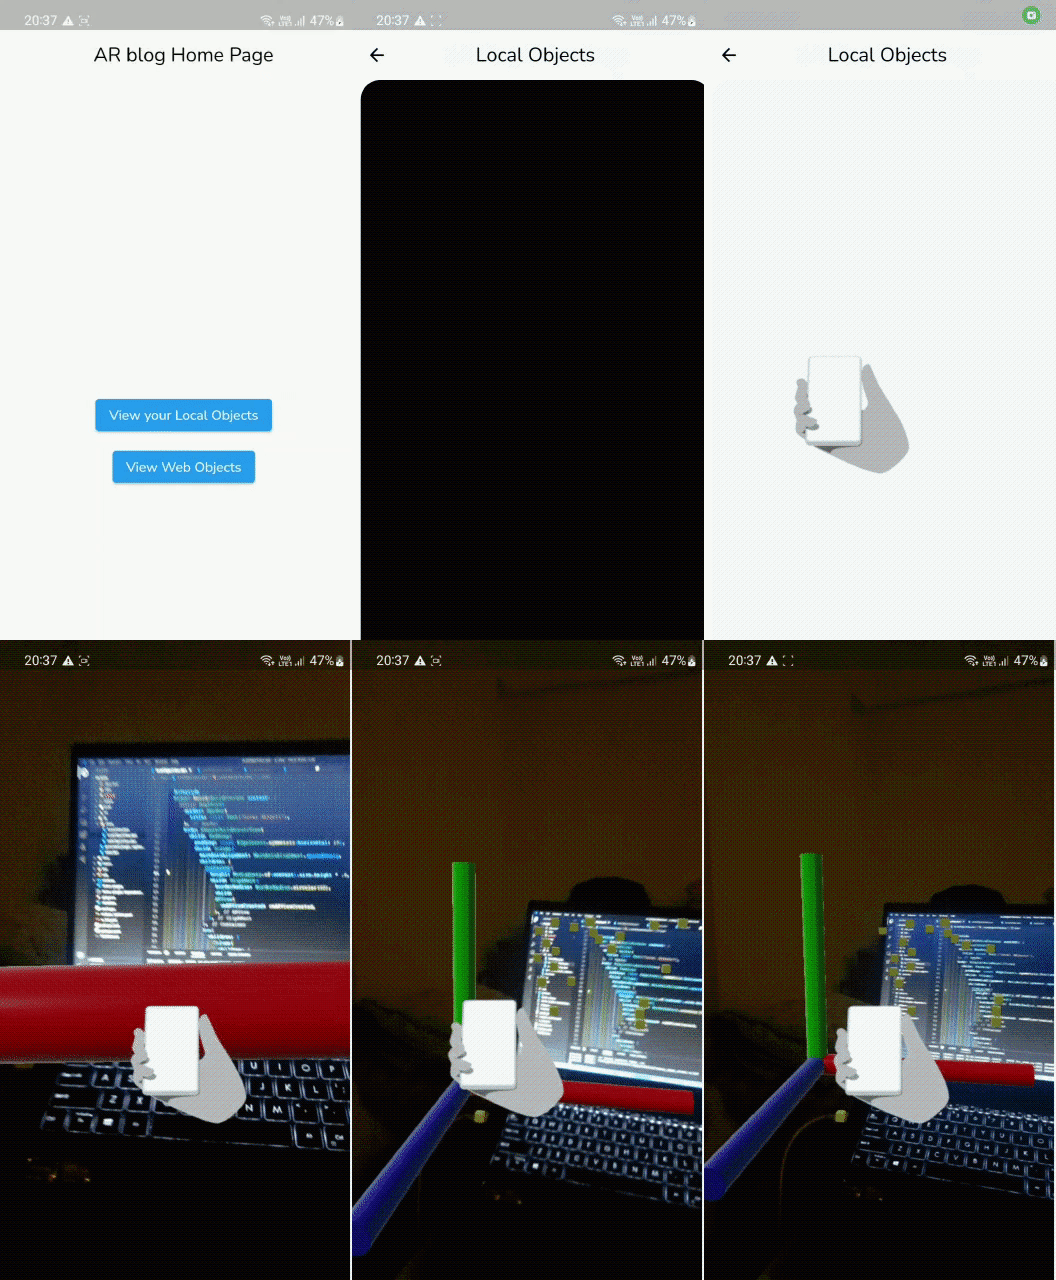
From this blog, you’ll learn about how to build an augmented
reality app in Flutter with a plugin that supports both Android and iOS devices.
An augmented reality app (AR app) is a software application that integrates digital
visual content into the user's real-world environment.
Hence to integrate visual contents into your flutter app ar_flutter_plugin was published by lars
carius.
By the end of this blog you’ll know the following:
- What is the ar_flutter_plugin ?
- How to use this plugin?
What is the ar_flutter_plugin ?
The ar_flutter_plugin is a Flutter Plugin for creating Augmented
Reality experiences on your app. With the help of this plugin you won’t have to use
two separate plugins for android and iOS devices respectively as this plugin provides
support to both the ARKit for iOS and the ARCore for Android devices.
What is ARKit?
ARKit is Apple’s set of tools that integrate iOS device camera and motion features to produce augmented reality
experiences in your app or game.
ARKit is apple exclusive and some of the features from ARKit require
iOS 12 or newer.
You can create many kinds of AR experiences with this technology
using the front or rear camera of an iOS device. You can learn
more about ARKit from here.
What is ARCore?
ARCore is Google’s platform for building augmented
reality experiences. Using different APIs, ARCore enables your phone to sense its
environment, understand the world and interact with information. Some of the APIs are
available across Android and iOS to enable shared AR experiences.
ARCore uses three key capabilities to integrate
virtual content with the real world as seen through your phone's camera:
You can learn about how
ARCore works from here.
Before moving forward you should to have a basic
understanding of these libraries:
- ARNode: ARNode is the model class for node-tree
objects. It encapsulates the position, rotations, and other transforms of a node, which
define a coordinate system.
- ARView: If camera permission is granted,
ARView creates a platform-dependent view from the factory method.
- ARObjectManager: Manages the all node-related actions of an ARView.
- ARSessionManager: Manages the session configuration, parameters and events of an
ARView.
- ARLocationManager: Is used to get the current location of the device and handle
location permissions.
Lets get started!
First create a basic looking app.
Setting up the Plugin
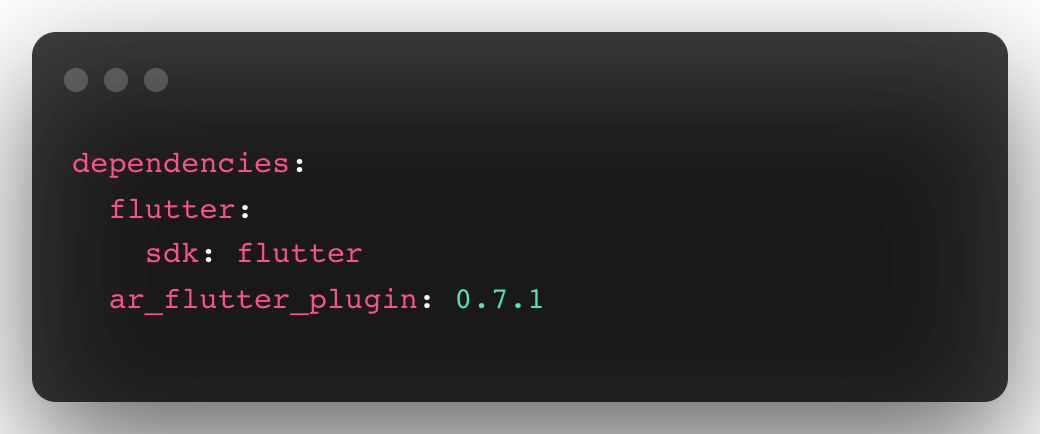
Add Flutter Dependency
Install the ar_flutter_plugin in your pubspec.yaml file:
Android Configuration
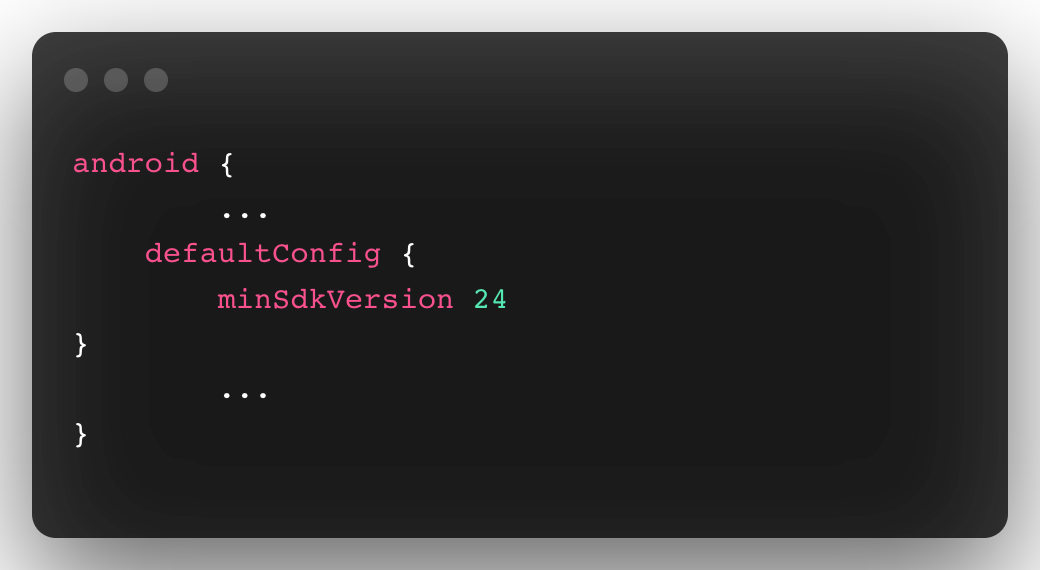
Update the minSdkVersion in android
> app > build.gradle file:
Using Local and Web Objects:
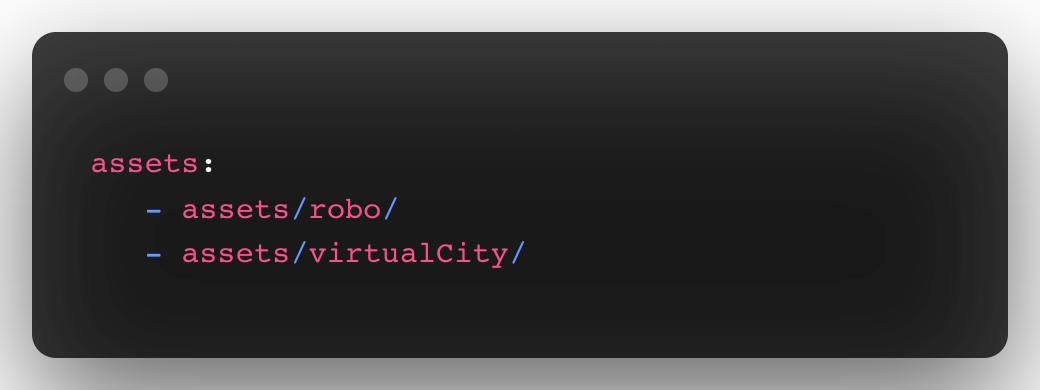
For using local objects you need to
provide .gltf files in pubspec.yaml -
What is a gltf file?
glTF(Graphics Language Transmission Format) is a standard file
format for three-dimensional scenes and models. A glTF file uses one of two possible file
extensions: .gltf or .glb.
You can download some sample models from
here.
Let’s start coding!
Update your update container with ARView as follows:

Use properties of this widget as per your preference,
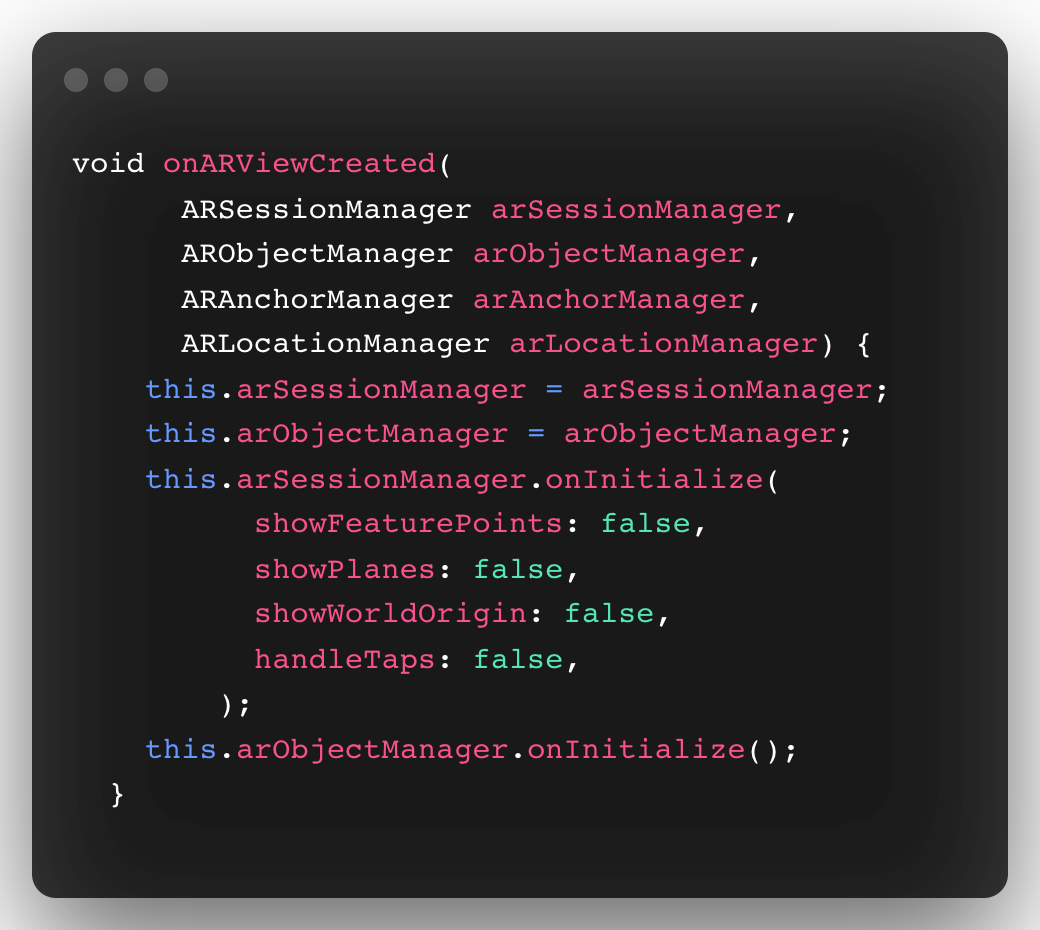
If you want to show planes and node points for reference change the
following properties in such a way:
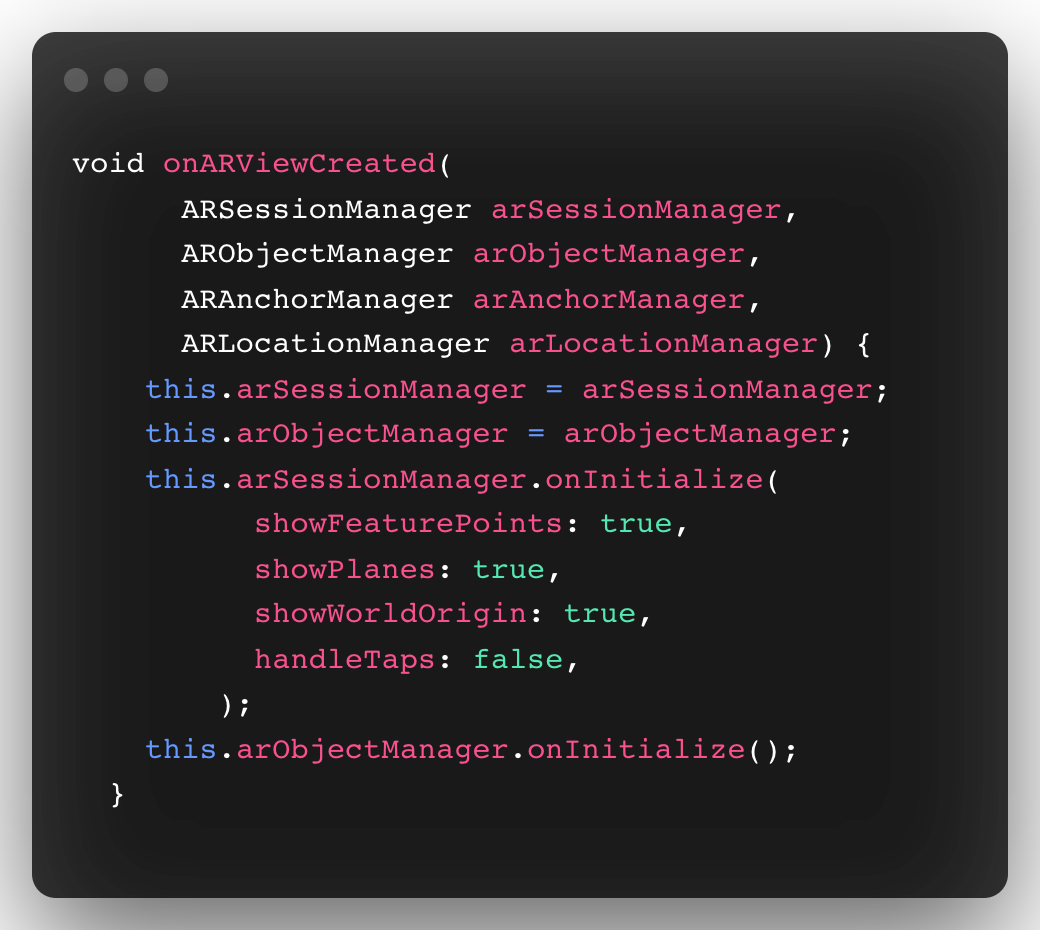
By doing so you will be able to see the planes and surface like
this:
Adding Local Object:
To add local objects from your gltf files to your rear view simply
call this function on a button:

This is how Local object looks on your camera view.
Now let’s add a Web object our view!
The process of adding a Web object is awfully similar to adding a
local object.
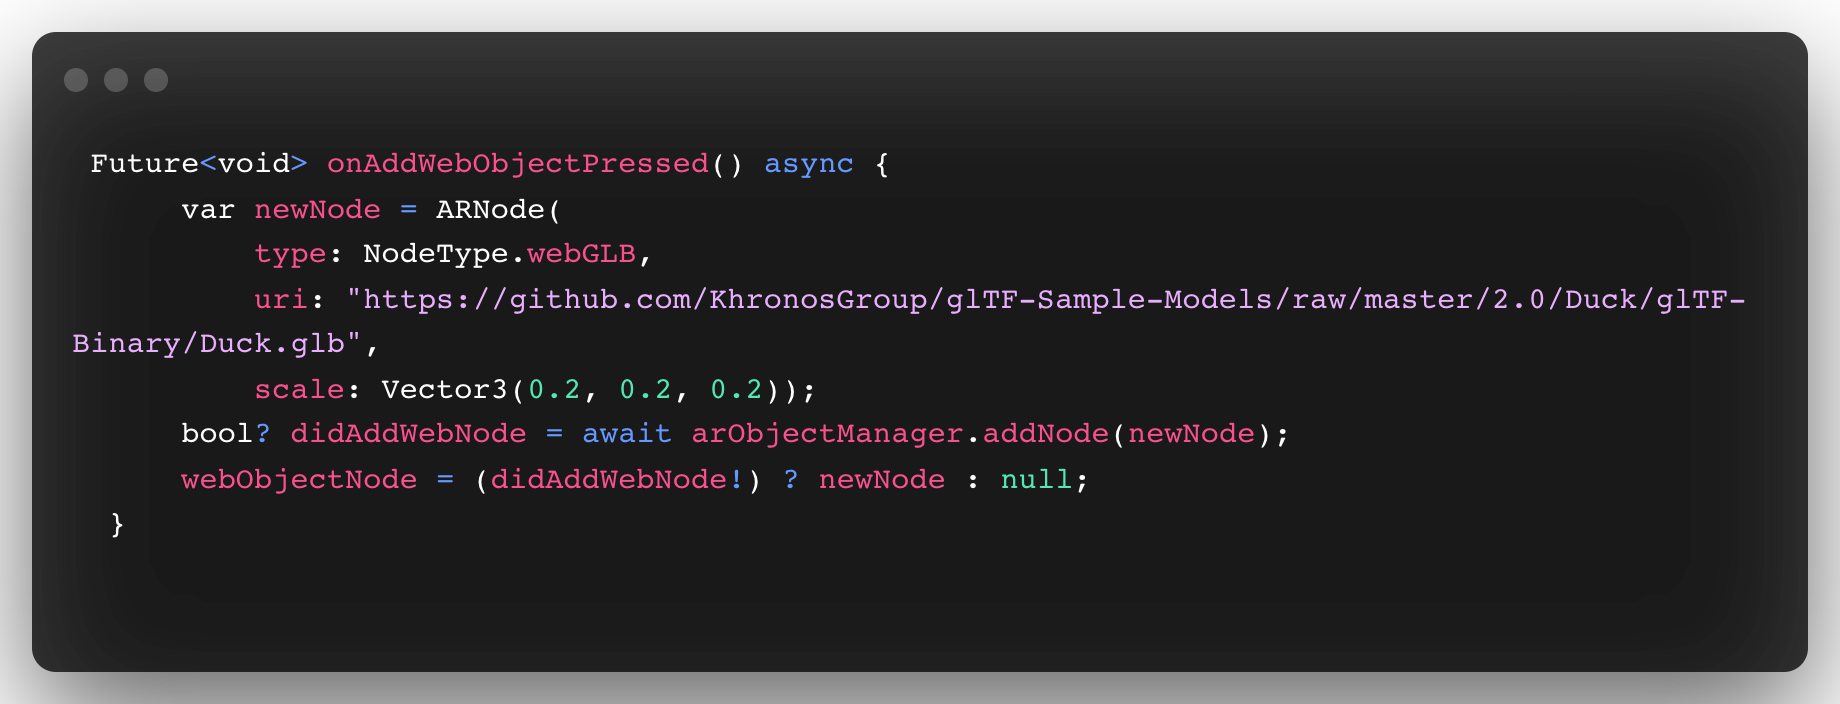
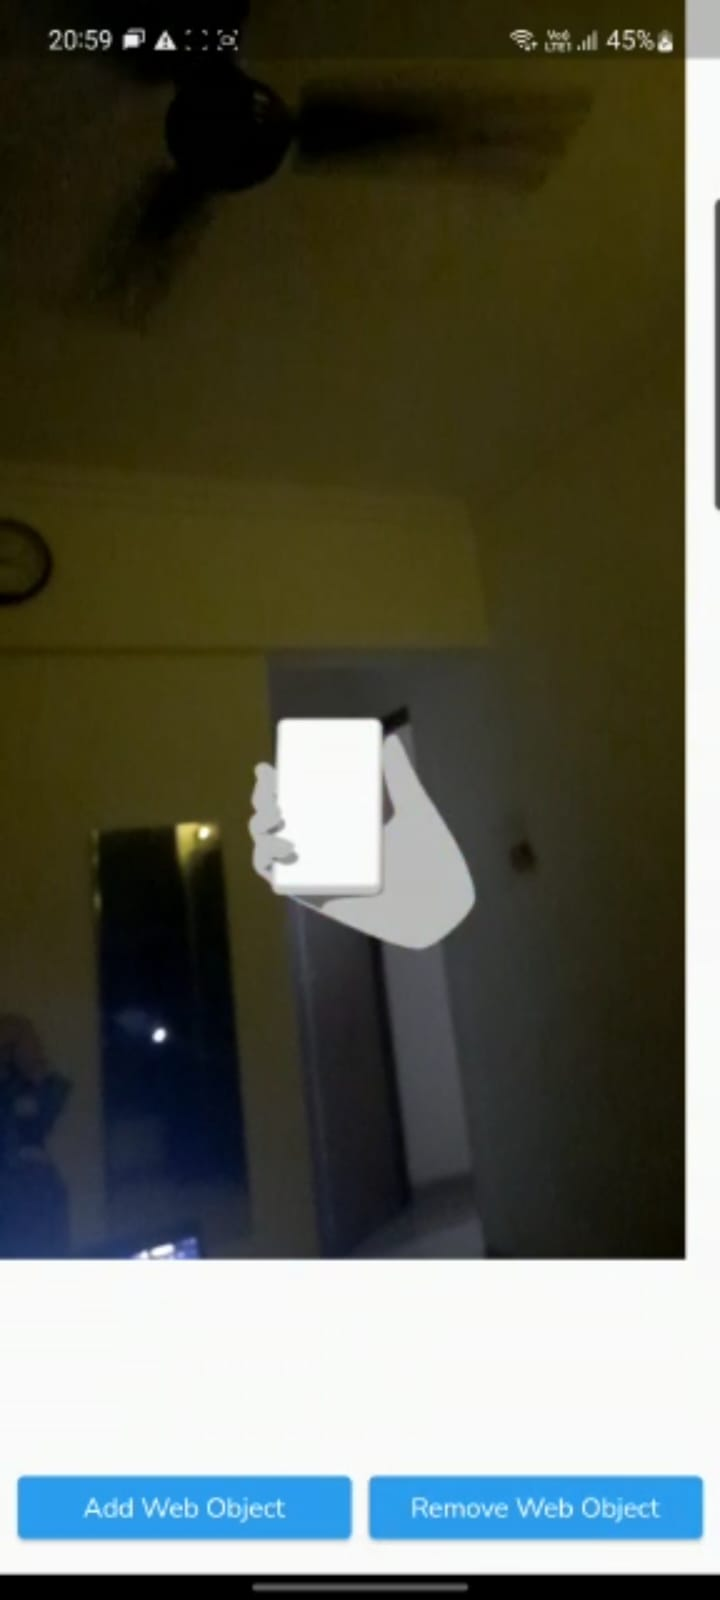
This is how Web object looks on your camera view.
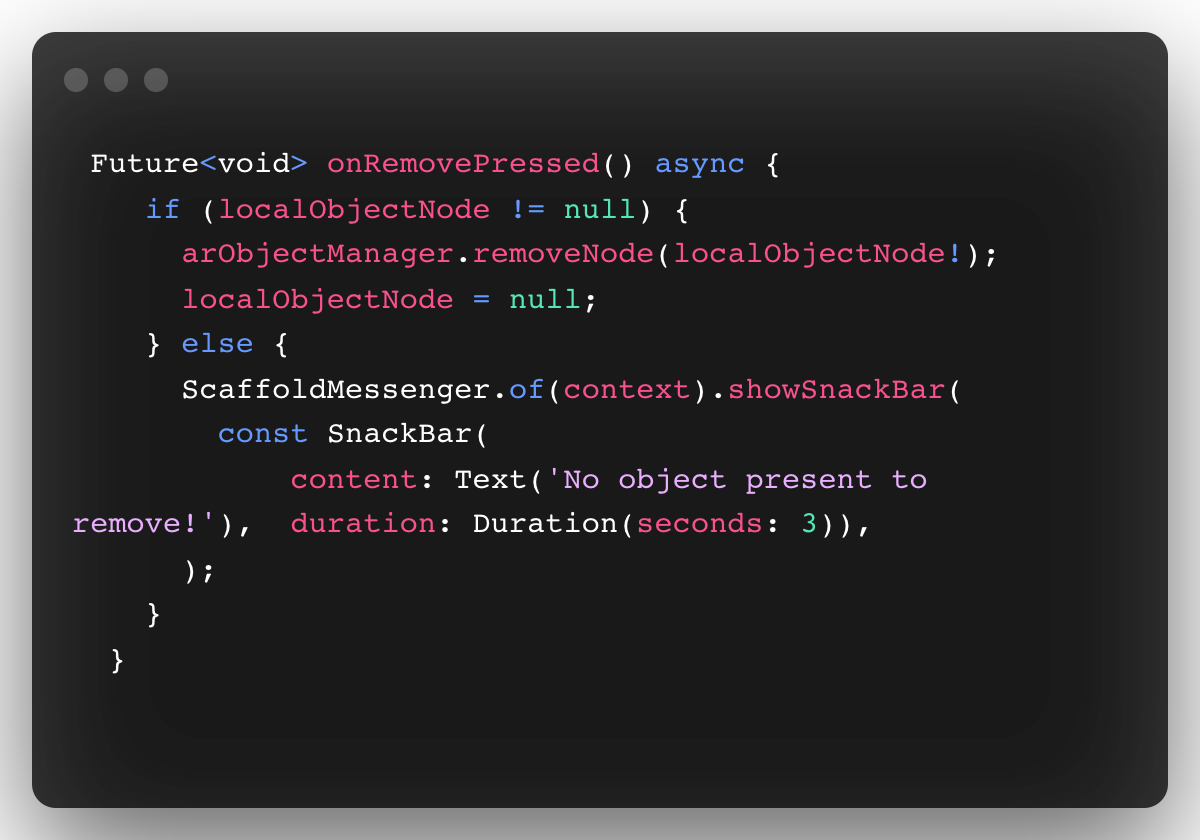
Removing our Local/Web Object:
If you want to remove the added object from your view call this
function:
After remove, Camera view
Conclusion
From this blog, you gained an understanding of ar_flutter_plugin and how to use it to build a
simple augmented reality app using Flutter. For the next step, you can try rotating or
transforming objects using gestures, re-sizing the objects or fetching 3D objects using Google
Cloud or an external database.
We hope you enjoyed this blog. Thank you!


