Build Face filter app with Flutter and Deep AR (Part 2)

  In part 1, I gave a quick overview of DeepAR and how to install DeepAR in the flutter android application. Now, it’s time for moving forward and build a face filter app with flutter and DeepAR If Google made you directly land on this article and you didn’t check out first part here is the link Build Face filter app with Flutter and Deep AR (Part 1)
In this part, we will implement a face filter app using Flutter and DeepAR. You will also get an insight into how to use Bloc to separate business logic from the user interface and making the application code more unambiguous, scalable, and testable. So,
let’s get started!!

Step 1: Download DeepAR filters
However, you can also create your custom filter using DeepAR studio but this tutorial is about how to use DeepAR to build a face filter app in flutter so we used their popular AR filters and effects.
Click here to download

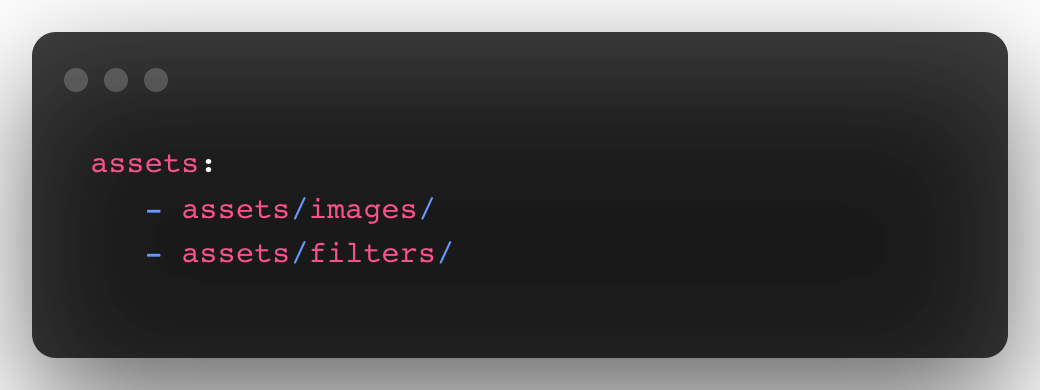
Step 2: Add DeepAR filters in the flutter project After downloading the zip file extract it and then go to the Free Filters folders you will see various filter folders there go to one of them there are two files one is a .deepar file and another one is .png file, copy or cut .deepar file and paste it into “your project directory/assets/filters” folder then rename “preview.png” file with the filter name and copy or cut this file into “your project directory/assets/images” folder.

Step 3: Update pubspec.yaml file


Step 4: Create a filter DTO
To store and transfer filter data in a project we’ve to create DTO for a filter that holds data about the filter like name, address where the “.deepar” file is saved, and address where the “.png” file is saved so we can easily use them in our app.
Create “filter_dto.dart” file as follows


Step 5: Create a story bloc
Flutter bloc is one of the state management for Flutter applications. You can use it to handle all the possible states of your application in an easy way. After create a story bloc following four files are generated

  1. “story_bloc.dart”
  2. “story_bloc.freezed.dart”
  3. “story_event.dart”
  4. “story_state.dart”
Story_state.dart
Story_event.dart
Story_bloc.dart


Step 6:
Now let’s create “add_story.dart” which contains our main UI and connects it to the story bloc which we created in the last step as follows


Step 7:
Update “main.dart” file as follows


Have a product idea? Let’s build together!

Get in touch